เริ่มต้นเขียน Angular2 กันดีกว่า
เมื่อเร็วๆนี้ Angular ได้ปล่อยตัว Angular 4 ออกมา ซึ่งจริงๆแล้ว มันก็ไม่ได้แตกต่างกับ Angular 2 เท่าไหร่นัก เป็นเพียงแค่ Improve Feature เล็กๆน้อยๆ ไม่ได้ Major change แบบตอน Angular 1 มา Angular 2 นั่นเอง
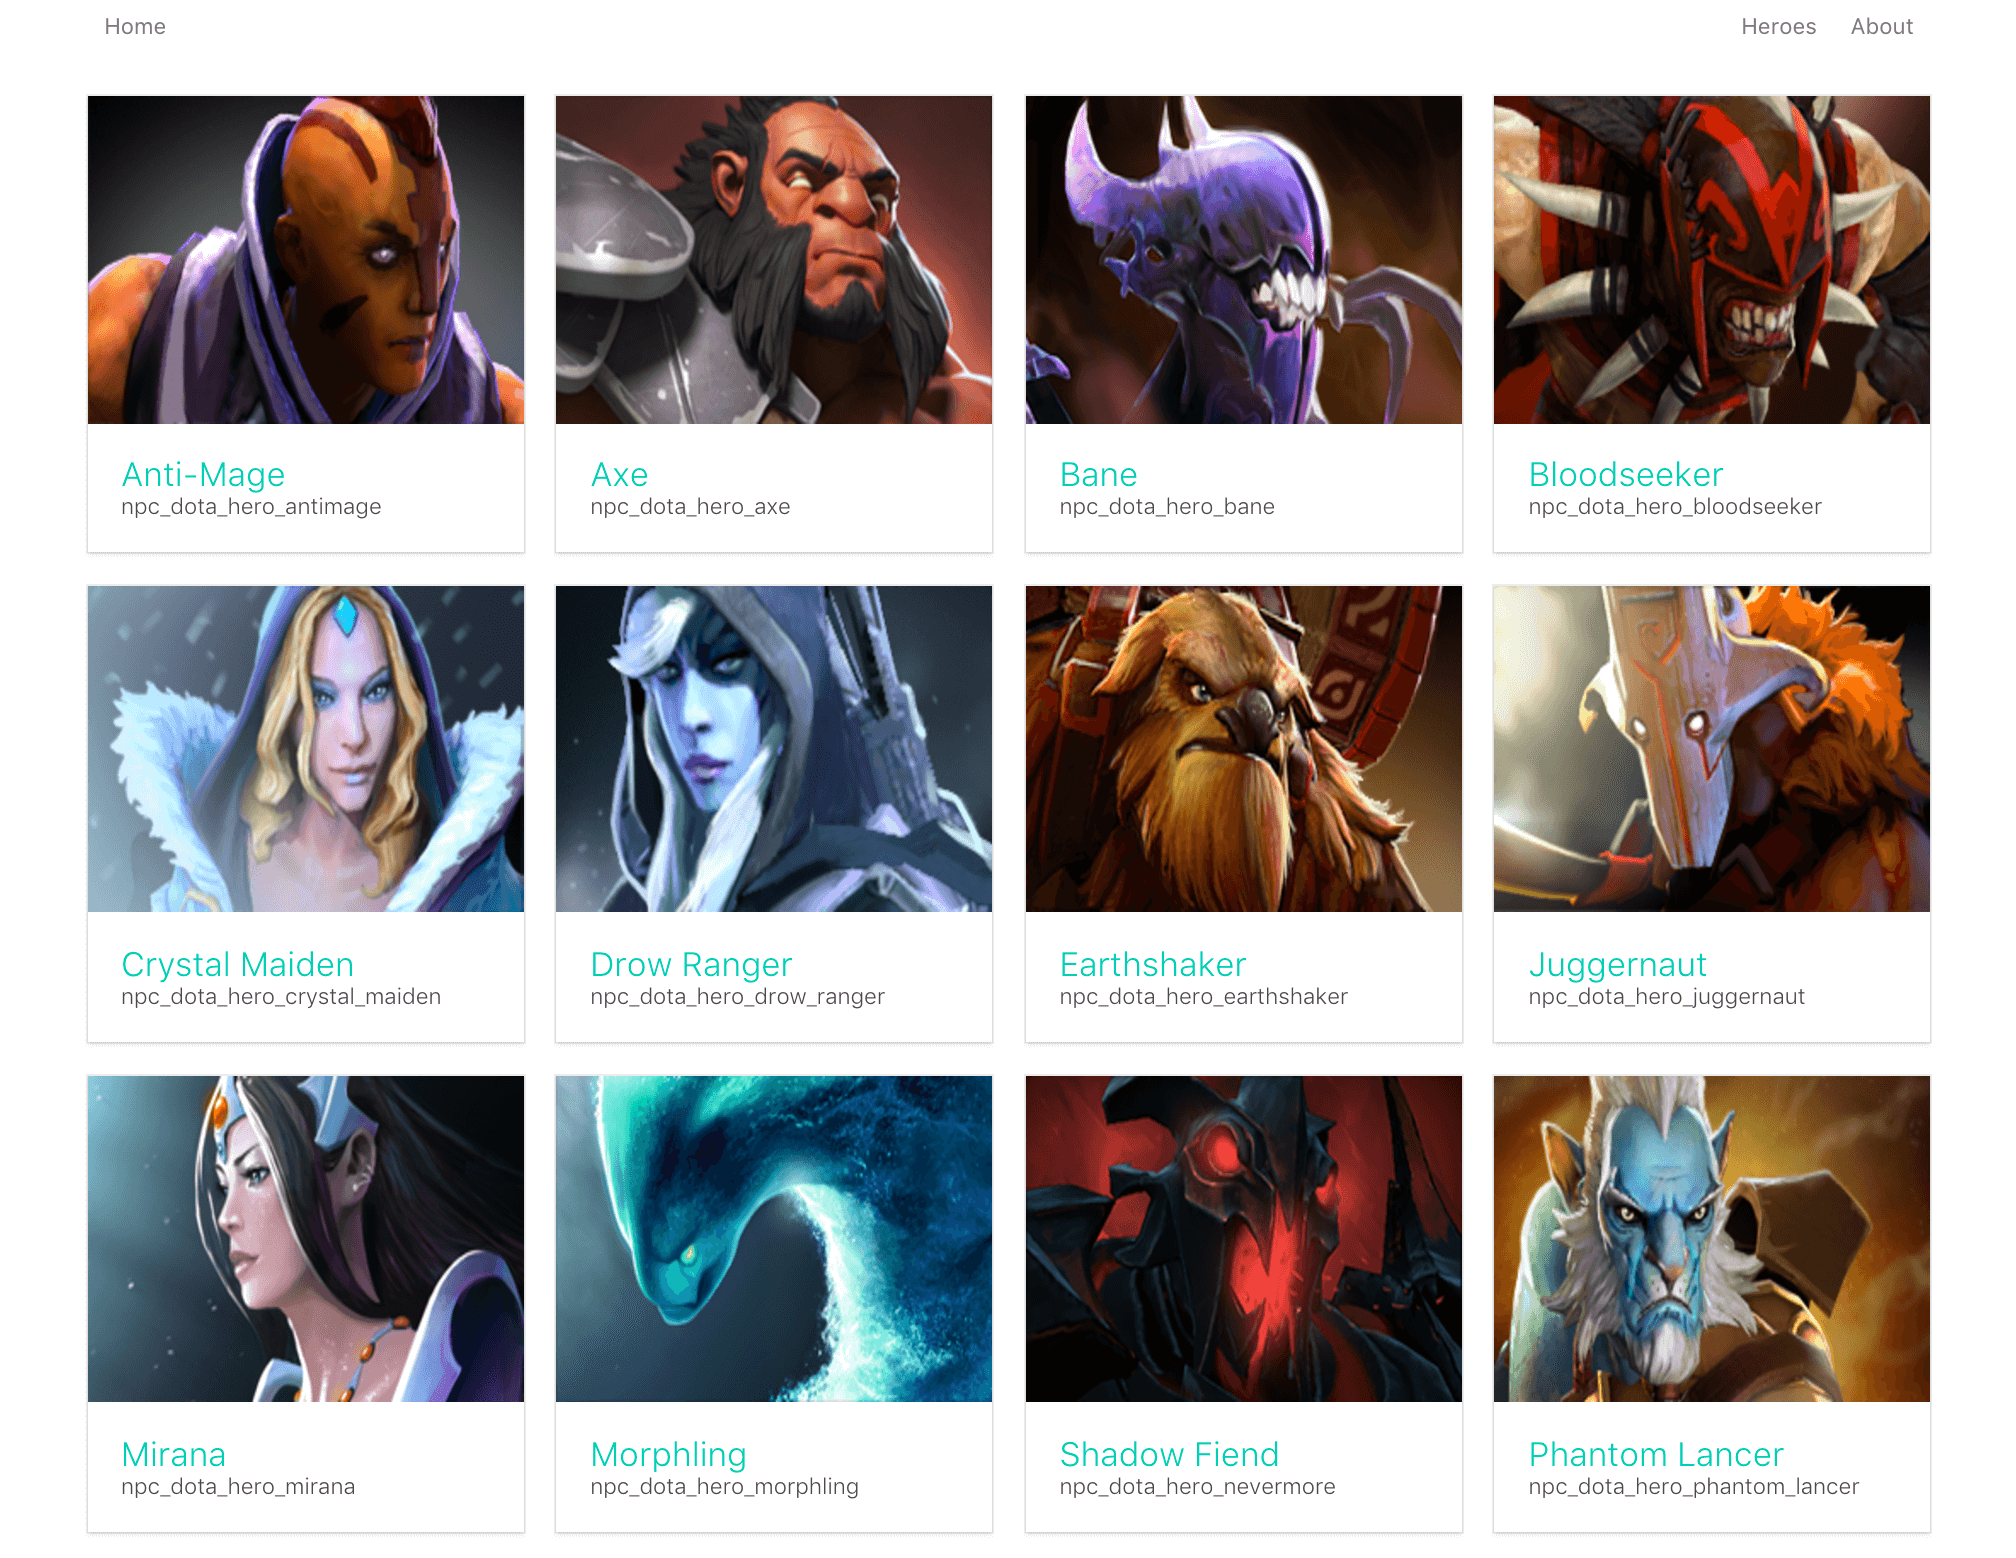
วันนี้ก็เลยมานำเสนอบทความการเขียน Angular 2 ฉบับเริ่มต้นกันครับ ซึ่งตัว Angular 2 นั้นเขียนด้วย TypeScript และตัวอย่างของวันนี้จะเป็นเว็บแบบ Single Page Application ที่เอาไว้แสดงข้อมูล Heroes ของเกม Dota 2 ครับ
หน้าตาของ App เมื่อเขียนเสร็จก็จะได้ประมาณรูปด้านล่างครับ
จะเรียก Angular เวอร์ชั่น 2 ขึ้นไปว่า Angular ส่วน Angular 1.x จะเรียกว่า AngularJS
Enviroments
ในตัวอย่างนี้จะใช้ Angular-cli ในการสร้างโปรเจ็ค รวมถึงการสร้าง Component และเขียนด้วย TypeScript
ฉะนั้นสิ่งที่ควรมีก็คือ
- Node.js v6.9.5
- TypeScript v2.1.5
- Angular CLI v1.0.0-beta.30
หากยังไม่ได้ติดตั้ง Node.js สามารถอ่านได้จากบทความนี้ Node.js คืออะไร ? + เริ่มต้นใช้งาน Node.js
Step 1 : Installation
$ npm install typescript -g$ npm install angular-cli -g
บน Mac OS X หรือ Linux อาจจะต้องติดตั้ง Watchman เพิ่มเติม (ตัว Watchman เอาไว้สำหรับ Monitoring file ของ AngularCLI)
$ brew install watchman
หากไม่มี Homebrew หรือยังไม่รู้จัก อ่านบทความนี้ครับ Homebrew คืออะไร? + สอนวิธีใช้งาน
Step 2 : Create Project
เริ่มต้นสร้างโปรเจ็ค Angular ด้วยการใช้ angular-cli
จะใช้คำสั่ง ng new <ชื่อโปรเจ็ค>
ครับ
$ ng new awesome-app
installing ng2 create .editorconfig create README.md create src/app/app.component.css create src/app/app.component.html create src/app/app.component.spec.ts create src/app/app.component.ts create src/app/app.module.ts create src/assets/.gitkeep create src/environments/environment.prod.ts create src/environments/environment.ts create src/favicon.ico create src/index.html create src/main.ts create src/polyfills.ts create src/styles.css create src/test.ts create src/tsconfig.json create angular-cli.json create e2e/app.e2e-spec.ts create e2e/app.po.ts create e2e/tsconfig.json create .gitignore create karma.conf.js create package.json create protractor.conf.js create tslint.jsonSuccessfully initialized git.Installing packages for tooling via npm.
Project 'awesome-app' successfully created.
ไฟล์และ dependencies ต่างๆจะถูกติดตั้งด้วย angular-cli
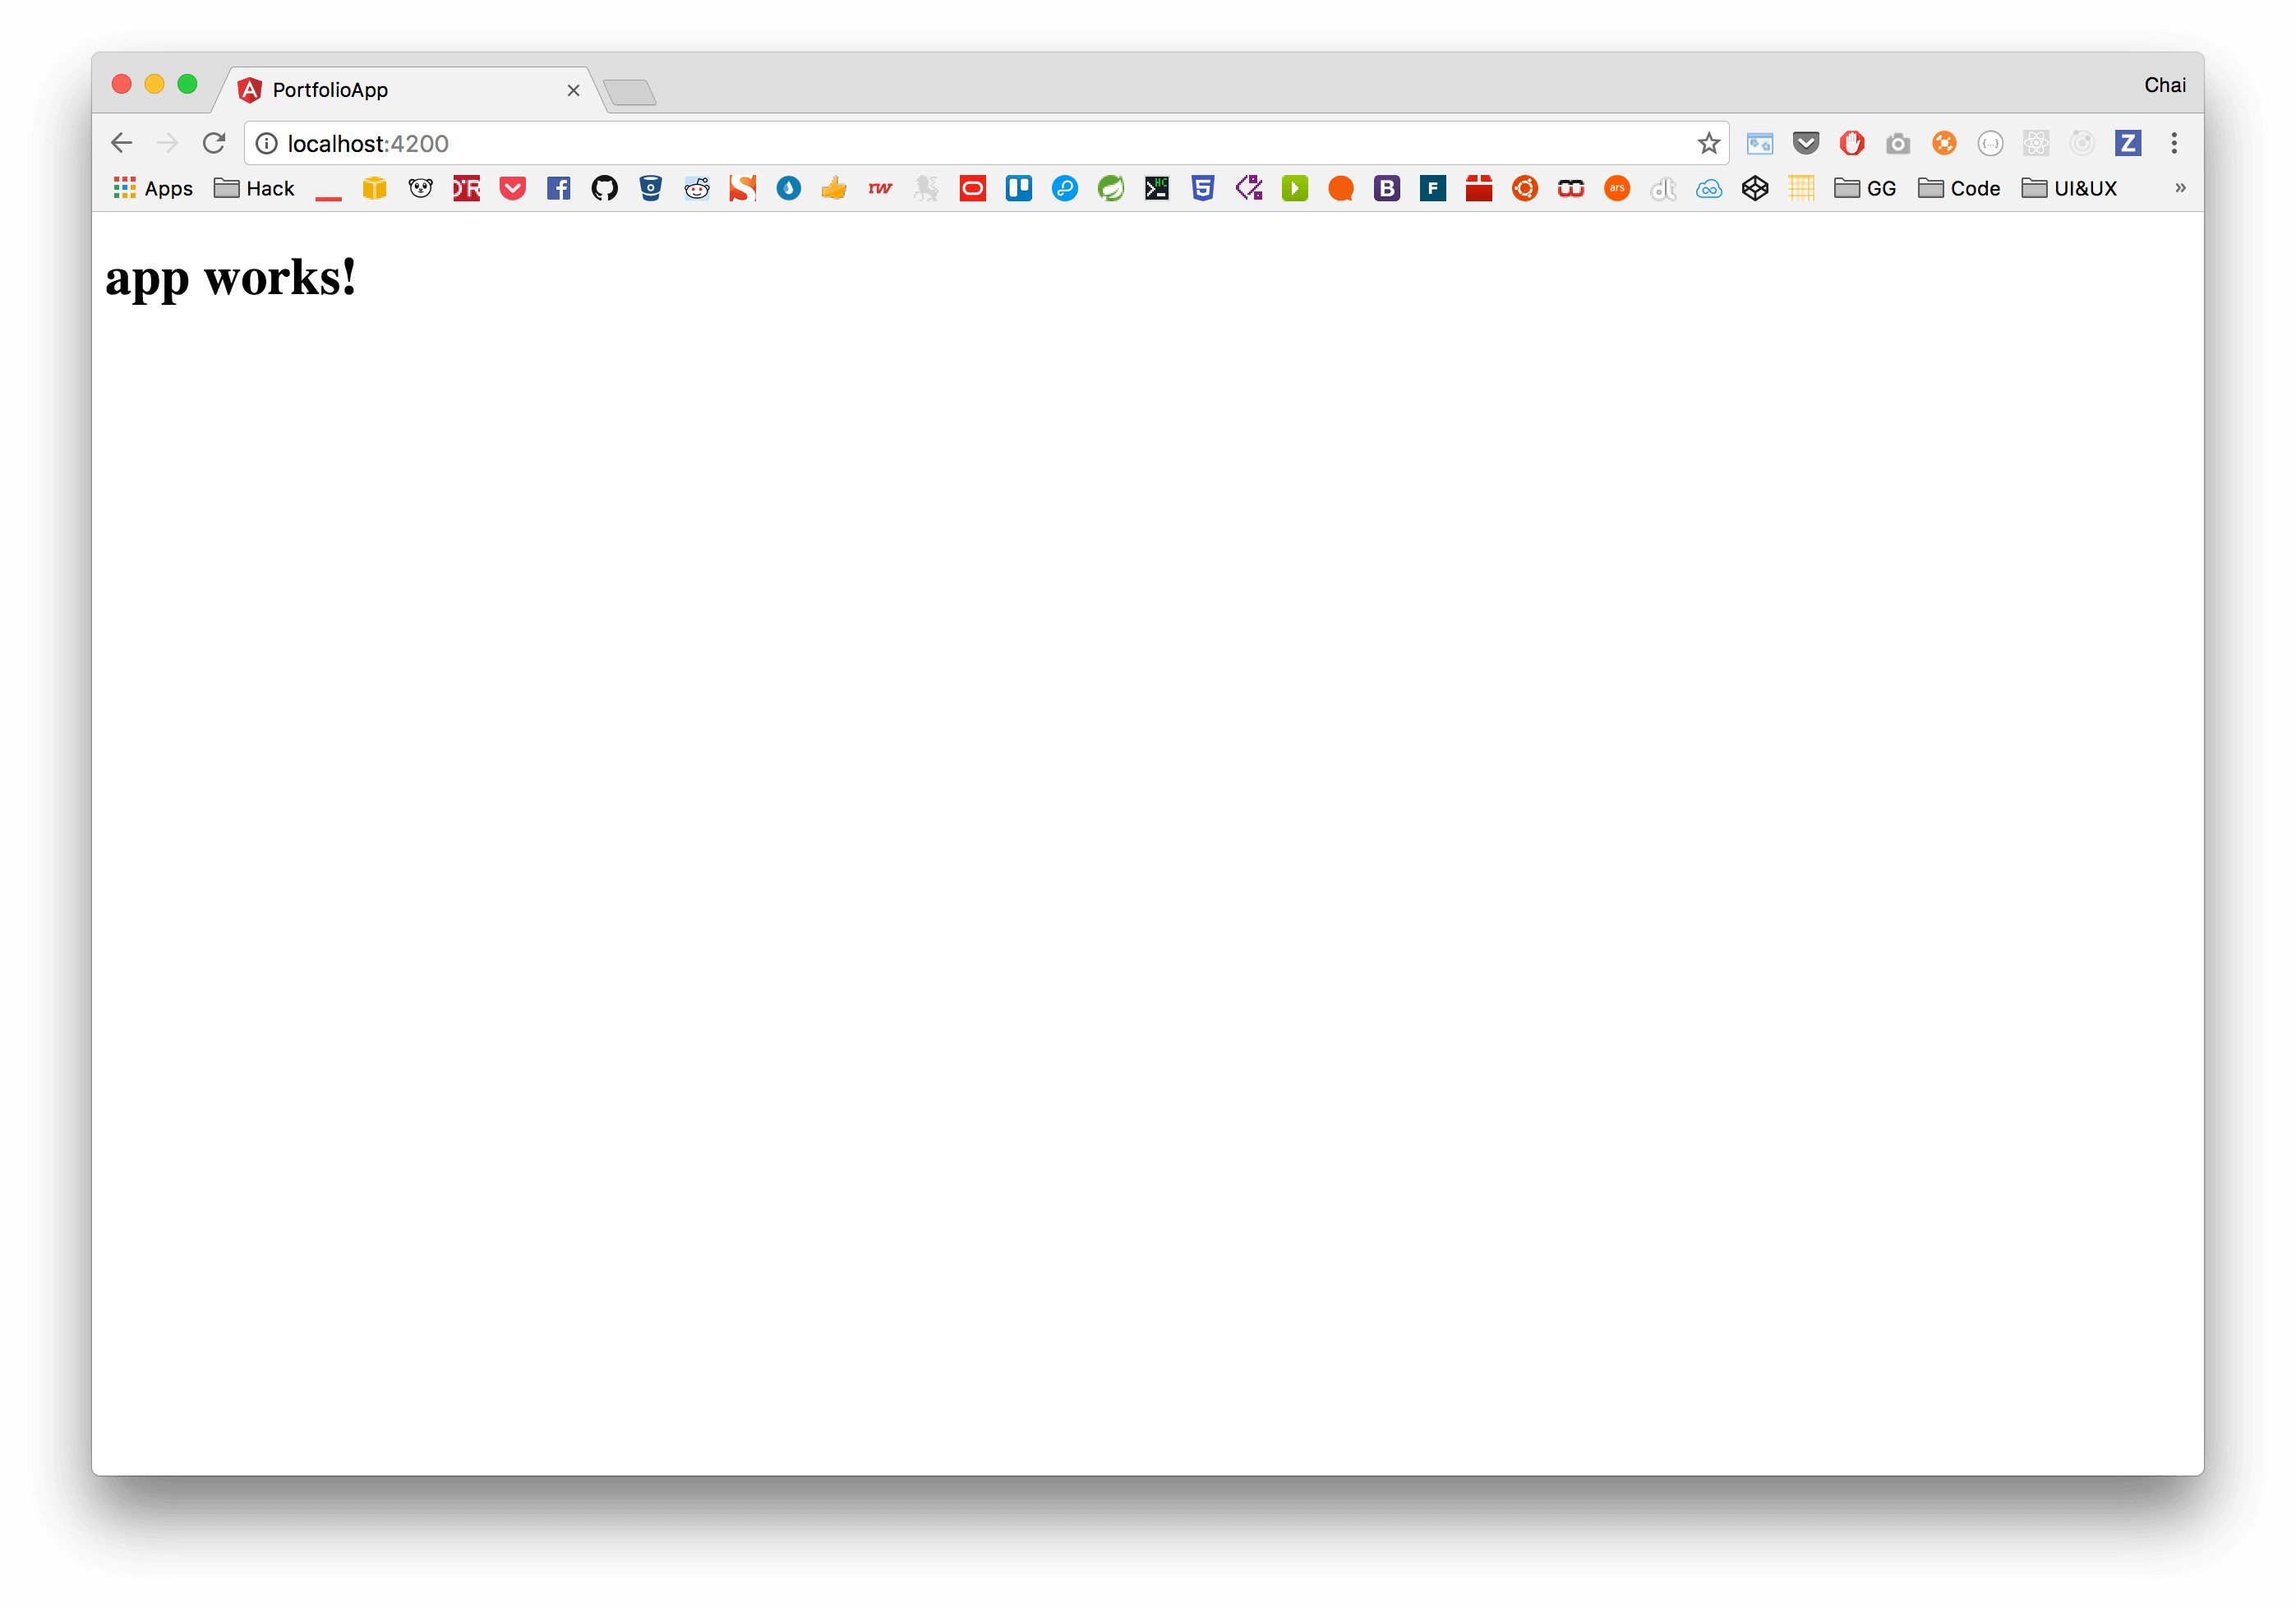
เมื่อสร้างโปรเจ็คด้วย angular-cli เสร็จแล้ว ก็ลองรัน server ดูด้วยคำสั่ง ng serve
$ cd awesome-app$ ng serve
เข้าเว็บผ่าน http://localhost:4200/ จะเห็นหน้าเว็บ Angular
Step 3 : Project Structure
เมื่อลอง browse file ในโฟลเดอร์ src
จะเห็นว่ามีไฟล์และโฟลเดอร์ต่างๆดังด้านล่างนี้
├── app/│ ├── app.component.css│ ├── app.component.html│ ├── app.component.spec.ts│ ├── app.component.ts│ └── app.module.ts├── assets/├── environments/│ ├── environment.prod.ts│ └── environment.ts├── favicon.ico├── index.html├── main.ts├── polyfills.ts├── styles.css├── test.ts└── tsconfig.json
ลองดูที่ไฟล์ src/app/app.component.html
<!doctype html><html> <head> <meta charset="utf-8" /> <title>AwesomeApp</title> <base href="/" />
<meta name="viewport" content="width=device-width, initial-scale=1" /> <link rel="icon" type="image/x-icon" href="favicon.ico" /> </head> <body> <app-root>Loading...</app-root> </body></html>
จะสังเกตเห็น tag <app-root>
ใน Element <app-root>Loading...</app-root>
ซึ่งหากใน AngularJS (Angular 1) จะเรียกว่า Diretives ส่วนใน Angular (Angular 2)เราจะเรียกมันใหม่ว่า Component
แล้วทีนี้ Component ใน Angular มันสร้างมาได้ยังไง? ลองเปิดไฟล์ src/app/app.component.ts
ขึ้นมา
import { Component } from '@angular/core'
@Component({ selector: 'app-root', templateUrl: './app.component.html', styleUrls: ['./app.component.css']})export class AppComponent { title = 'app works!'}
จากโค๊ดด้านบน มีการ import Component
จากโมดูล @angular/core
และประกาศ Component โดยมี property คือ
selector
: ชื่อ component ที่เราต้องการ เช่นapp-root
เวลาใช้งานก็คือ<app-root></app-root>
templateUrl
: Path ไฟล์ html ที่เราต้องการให้ Component นี้มัน renderstyleUrls
: สามารถกำหนด stylesheet เฉพาะ component ได้template
: หรือหากไม่ระบุ url ก็สามารถใส่ HTML tag ลงไปในนี้ได้เลย
ซึ่งหากสังเกตแล้ว จริงๆ 1 component ของ Angular จะมีด้วยกัน 4 ไฟล์ คือ
app.component.css
: เอาไว้สำหรับจัดการ stylesheet ของ component นั้นapp.component.html
: ไฟล์ html template ของ Componentapp.component.spec.ts
: ไฟล์สำหรับ testapp.component.ts
: ไฟล์สำหรับ implement logic component
Step 4 : Generate component
เนื่องจากว่าตอนเราสร้างโปรเจ็คด้วย Angular-CLI app.component
จะถูกสร้างมาให้อัตโนมัติอยู่แล้ว ทีนี้เราลองมาสร้าง Component เพิ่มด้วยคำสั่ง CLI กันครับ
คำสั่งก็ง่ายๆเลยคือ ng generate component <ชื่อ component>
เช่น
ng generate component about
installing component create src/app/about/about.component.css create src/app/about/about.component.html create src/app/about/about.component.spec.ts create src/app/about/about.component.ts update src/app/app.module.ts
หรือจะใช้คำสั่งแบบสั้นๆ ก็ได้ คือ
ng g c about
จะเห็นว่าไฟล์ถูกสร้างมา 4 ไฟล์ รูปแบบคล้ายๆการสร้าง 1 Component และมีอัพเดทไฟล์ src/app/app.module.ts
ซึ่งหากเราเปิดไฟล์ app.module.ts
ดูจะพบว่า
import { BrowserModule } from '@angular/platform-browser'import { NgModule } from '@angular/core'import { FormsModule } from '@angular/forms'import { HttpModule } from '@angular/http'
import { AppComponent } from './app.component'import { AboutComponent } from './about/about.component'
@NgModule({ declarations: [AppComponent, AboutComponent], imports: [BrowserModule, FormsModule, HttpModule], providers: [], bootstrap: [AppComponent]})export class AppModule {}
สิ่งสำคัญมีอยู่ 3 ส่วนครับ คือ
declarations
: เอาไว้กำหนด Component ของเราให้ใช้ได้ภายใน app ถ้าไม่ใส่ในส่วนนี้ Component ที่เราสร้างมาตัว angular จะไม่รู้จักimports
: สำหรับ import โมดูลต่างๆเพื่อเอาไว้ใช้ในโปรเจ็ค เช่นHttpModule
สำหรับ GET/POST Http เป็นต้นproviders
: ตัวนี้จะเป็นสำหรับส่วนที่เอาไว้ประกาศ เวลาเรามี Service
Step 5: Create Routing
ต่อมาเป็นการสร้าง Routing เพื่อจะกำหนดว่า เวลาเราเข้า path นี้ จะให้มันไปไหน เช่น เข้า /about
จะให้แสดงหน้า About เข้าหน้า /heroes
ก็แสดงรายชื่อ Heroes เป็นต้น
ตัวอย่างการกำหนด Routing โดย App นี้จะแบ่งออกเป็น 3 หน้าคือ
- Home : เป็นหน้าแรก
- Heroes : แสดงรายชื่อ Heroes
- About : หน้ารายละเอียด
ซึ่งทัง้สามหน้า จะเป็นแค่ Static website มีเพียงแค่ Heroes ที่จะต้องดึง Service API นั่นเอง
สร้างไฟล์ชื่อ app-routing.module.ts
ขึ้นมา
import { NgModule } from '@angular/core'import { RouterModule, Routes } from '@angular/router'import { AboutComponent } from './about/about.component'
const routes: Routes = [ { path: 'about', component: AboutComponent }]
@NgModule({ imports: [RouterModule.forRoot(routes)], exports: [RouterModule]})export class AppRoutingModule {}
โดย Angular จะมาพร้อมโมดูล RouterModule
และ Routes
ให้เราไว้สำหรับ Config Routing อยู่แล้ว เราก็กำหนดได้เลยว่า path = about
ให้มันแสดง component ชื่อ AboutComponent
ตัว
path
ไม่ต้องใส่ slash (/
)
กลับไปที่ไฟล์ app.module.ts
ทำการ import RoutingModule
ที่เราสร้างนี้ไปด้วย
import { BrowserModule } from '@angular/platform-browser'import { NgModule } from '@angular/core'import { FormsModule } from '@angular/forms'import { HttpModule } from '@angular/http'
import { AppComponent } from './app.component'import { AboutComponent } from './about/about.component'import { AppRoutingModule } from './app-routing.module'
@NgModule({ declarations: [AppComponent, AboutComponent], imports: [BrowserModule, FormsModule, HttpModule, AppRoutingModule], providers: [], bootstrap: [AppComponent]})export class AppModule {}
และที่ไฟล์ app.component.html
ให้เราเพิ่ม tag <router-outlet></router-outlet>
เพื่อให้ Angular Router ทำงานนั่นเอง เมื่อเวลา Routing มันแมตกับ path ที่เรากำหนด ตัว Component ก็จะ replace ข้อมูลแทนแท็กนี้นั่นเอง
<div class="container"> <router-outlet></router-outlet></div>
ต่อมา Generate หน้า Home และ Hero List สำหรับเป็น Component และ map routing ไว้ก่อน (ยังไม่มีคอนเท้น)
ng g c homeng g c hero-list
และทำการเพิ่ม Routing ในไฟล์ app-routing.module.ts
import { NgModule } from '@angular/core'import { RouterModule, Routes } from '@angular/router'
import { AboutComponent } from './about/about.component'import { HomeComponent } from './home/home.component'import { HeroListComponent } from './hero-list/hero-list.component'
const routes: Routes = [ { path: '', component: HomeComponent }, { path: 'about', component: AboutComponent }, { path: 'heroes', component: HeroListComponent }, { path: '**', redirectTo: '/', pathMatch: 'full' }]
@NgModule({ imports: [RouterModule.forRoot(routes)], exports: [RouterModule]})export class AppRoutingModule {}
โดย path: ''
คือจะเป็นหน้า Home และ path: '**'
คือไม่เจอ path ใดๆเลย จะให้มัน redirect ไปที่ Home นั่นเอง
ตอนนี้ App เราก็มี 3 หน้าแล้ว คือ
Step 6: Services
ต่อมาส่วน Service ที่เราใช้ request เพื่อจะได้ข้อมูล Heroes แบบทั้งหมด และอีก request สำหรับ Hero id นั้นๆ
ไฟล์ชื่อ hero.service.ts
import { Injectable } from '@angular/core';import { Http } from '@angular/http';import 'rxjs/add/operator/map';
@Injectable()export class HeroService {
constructor(private http: Http) { }
findAll() { return this.http.get('http://localhost:5000/api/heroes') .map(res => res.json()); }
findOne(id) { return this.http.get(`http://localhost:5000/api/heroes/${id}`) .map(res => res.json()); }
}
จะเห็นว่าโค๊ดด้านบน มีการ import { Http } from '@angular/http';
ซึ่งเป็น module สำหรับ Http ในส่วนของ
;`constructor(private http:Http) {}`
จะมีค่าเท่ากับเราประกาศ
let http;
constructor(http: Http) { this.http = http;}
คือเราทำการประกาศตัวแปร http ใน constructor ได้เลย
ต่อมาไฟล์ hero-list/hero-list.component.ts
import { Component, OnInit } from '@angular/core';import { HeroService } from '../hero.service';
@Component({ selector: 'app-hero-list', templateUrl: './hero-list.component.html', styleUrls: ['./hero-list.component.scss']})export class HeroListComponent implements OnInit {
heroes: any = [];
constructor(private heroService: HeroService) { }
ngOnInit() { this.heroService.findAll().subscribe(response => { this.heroes = response.data; }); }
}
ด้านบน เรา Inject HeroService
ที่สร้างไว้ มาไว้ในนี้ผ่านตัวแปร heroService
จากนั้นก็สามารถ call method findAll
ได้เลย
แต่จะเห็นว่ามีส่วน .subscribe()
ตรงนี้ทำหน้าที่คล้ายๆกับ Promise().then()
คือเมื่อได้ response มันก็จะ ทำงานในส่วนของ subscribe()
ซึ่งในที่นี้คือ นำค่า response ไปใส่ไว้ตัวแปรชื่อ heroes
เช่นเดียวกันกับ hero/hero.component.ts
จะ Implement คล้ายๆกัน เพียงแต่ ส่วนที่เป็น /heroes/:id
จะต้องใช้ ActivatedRoute
ในการหา params ดังโค๊ดด้านล่าง
import { Component, OnInit } from '@angular/core';import { ActivatedRoute } from '@angular/router';import { HeroService } from '../hero.service';
@Component({ selector: 'app-hero', templateUrl: './hero.component.html', styleUrls: ['./hero.component.scss']})export class HeroComponent implements OnInit {
hero: any;
constructor(private route: ActivatedRoute, private heroService: HeroService) { }
ngOnInit() {
this.route.params.subscribe(params => { const id = params['id']; this.heroService.findOne(id).subscribe(response => { this.hero = response.data; });
});
}
like() { console.log('like'); }
}
สุดท้าย เพิ่ม HeroService
ไปในส่วน provider ของ app.module.ts
ด้วย
import { BrowserModule } from '@angular/platform-browser'import { NgModule } from '@angular/core'import { FormsModule } from '@angular/forms'import { HttpModule } from '@angular/http'
import { AppComponent } from './app.component'import { AboutComponent } from './about/about.component'import { AppRoutingModule } from './app-routing.module'import { HeroComponent } from './hero/hero.component'import { HomeComponent } from './home/home.component'import { HeroListComponent } from './hero-list/hero-list.component'import { HeroService } from './hero.service'
@NgModule({ declarations: [AppComponent, AboutComponent, HeroComponent, HomeComponent, HeroListComponent], imports: [BrowserModule, FormsModule, HttpModule, AppRoutingModule], providers: [HeroService], bootstrap: [AppComponent]})export class AppModule {}
Step 7: Add HTML Markup
ต่อมาผมทำการเพิ่ม HTML Markup ของแต่ละหน้าเริ่มจากไฟล์ index.html
ทำการเพิ่ม CSS ของ Bulma
<!doctype html><html> <head> <meta charset="utf-8" /> <title>AwesomeApp</title> <base href="/" />
<meta name="viewport" content="width=device-width, initial-scale=1" /> <link rel="icon" type="image/x-icon" href="favicon.ico" /> <link rel="stylesheet" href="https://cdnjs.cloudflare.com/ajax/libs/bulma/0.3.2/css/bulma.css" /> </head> <body> <app-root>Loading...</app-root> </body></html>
ต่อมาไฟล์ app.component.html
ก็จะเพิ่มส่วน Navbar เพื่อจะได้ Link ไปหน้าต่างๆได้
<div class="container"> <nav class="nav"> <div class="nav-left"> <a class="nav-item" routerLinkActive="active" routerLink="/">Home</a> </div>
<div id="nav-menu" class="nav-right nav-menu"> <a class="nav-item" routerLinkActive="active" routerLink="/heroes"> Heroes </a> <a class="nav-item" routerLinkActive="active" routerLink="/about"> About </a> </div> </nav> <router-outlet></router-outlet></div>
ซึ่ง HTML Tag ด้านบน เราจะเห็น routerLink
และ routerLinkActive
ซึ่งเป็นส่วนของ Angular Router โดย routerLink
เอาไว้สำหรับบอกว่า Link นี้ จะไปไหน โดยมันจะไป map กับที่เรา config ไว้ใน app-routing.module.ts
นั่นเอง
ไฟล์ app.component.css
(บทความใช้ .scss
)
body { background-color: #ccc;}
nav { margin-bottom: 20px;}
ต่อมา ส่วนหน้า About ก็ใส่ Content เพิ่มเข้าไป
<div class="tile is-ancestor"> <div class="tile is-half is-vertical is-parent"> <div class="tile is-child box"> <p class="title">About</p>
<div class="content"> <p>This is demo application built with Angular 2</p> <p></p> <ul> <li> <a href="https://www.eventbrite.co.uk/e/building-spa-with-nodejs-and-angular2-tickets-32402850799" >Building SPA with Hapi.js and Angular 2</a > </li> <li> <a href="https://github.com/Phonbopit/node-x-angular">Source code on Github</a> </li> </ul> </div> </div> </div> <div class="tile is-half is-parent"> <div class="tile is-child box"> <p class="title">Credit</p>
<div class="content"> <ul> <li><a href="http://bulma.io/">Bulma</a> for CSS Framework</li> <li><a href="https://www.opendota.com/">OpenDota API</a> for mock data</li> </ul> </div> </div> </div></div>
หน้า hero-list/hero-list.component.html
ก็เช่นเดียวกัน
<div class="columns is-multiline "> <div class="column is-one-quarter" *ngFor="let hero of heroes"> <div class="card"> <div class="card-image"> <figure class="image is-4by3"> <img src="https://api.opendota.com{{hero.img}}" alt="Icon" /> </figure> </div> <div class="card-content"> <div class="media"> <div class="media-content"> <p class="title is-4"> <a routerLink="/heroes/{{hero.id}}" class="is-success">{{hero.localized_name}}</a> </p> <p class="subtitle is-6">{{hero.name}}</p> </div> </div> </div> </div> </div></div>
และสุดท้ายหน้า Hero Detail hero/hero.component.ts
<div class="card"> <div class="card-image"> <figure class="image is-4by3"> <img src="https://api.opendota.com{{hero?.img}}" alt="Icon" /> </figure> </div> <div class="card-content"> <div class="media"> <div class="media-content"> <p class="title is-4">{{hero?.localized_name}}</p> <p class="subtitle is-6">{{hero?.name}}</p> </div> </div> </div></div>
<hr />
<div class="columns"> <div class="column"> <a class="button is-outlined" routerLink="/heroes">Back</a> </div> <div class="column"> <a class="button is-outlined" (click)="like()">Like</a> </div></div>
Step 8: Backend
สำหรับส่วน Backend จะไม่อธิบายถึงละกันครับ เพราะว่าอยู่นอก scope ของบทความ ซึ่งสามารถดูได้จาก Link นี้ https://github.com/Phonbopit/node-x-angular/tree/master/server
ซึ่งเมื่อเราทำการรัน Server หรือ มี response จาก backend ตัวหน้าเว็บที่เราทำไว้ก็จะสามารถใช้งานได้นั่นเอง
เป็นอันเรียบร้อย :)
Conclusion
บทความนี้ก็เป็นคล้ายๆ Walkthrough สำหรับทำ Single Page Appliction ด้วย Angular 2 หรือ 4 แบบง่ายๆนะครับ อาจจะไม่ได้เจาะลึกลงไปในแต่ละรายละเอียด ซึ่งอยากให้มองเห็นภาพรวมแล้วก็ไปต่อยอดศึกษาเพิ่มเติมเอาเองนะครับ เช่น Angular Router ว่ามันทำอะไรได้บ้าง หรือ RxJS หรือ Observable มันใช้ยังไง ทำอะไรอีกได้บ้าง เป็นต้น หวังว่าบทความนี้จะมีประโยชน์กับผู้ที่กำลังสนใจ Angular นะครับ
สุดท้าย Source Code สามารถดูได้จาก Link ด้านล่างเลยครับ
- Authors
-
Chai Phonbopit
เป็น Web Dev ในบริษัทแห่งหนึ่ง ทำงานมา 10 ปีกว่าๆ ด้วยภาษาและเทคโนโลยี เช่น JavaScript, Node.js, React, Vue และปัจจุบันกำลังสนใจในเรื่องของ Blockchain และ Crypto กำลังหัดเรียนภาษา Rust