มาหัดเขียนบล็อกด้วย Middleman ตอนที่ 2 (Custom Layout)
Table of Contents
- มาหัดเขียนบล็อกด้วย Middleman ตอนที่ 1 : Overview
- มาหัดเขียนบล็อกด้วย Middleman ตอนที่ 2 : Custom Layout
- มาหัดเขียนบล็อกด้วย Middleman ตอนที่ 3 : Partials Template
- มาหัดเขียนบล็อกด้วย Middleman ตอนที่ 4 (จบ) : Deployment
หลักจากที่ มาหัดเขียนบล็อกด้วย Middleman ตอนที่ 1 กันไปแล้ว ซึ่งบทความนั้นจะพูดถึง Overview ของ Middleman มาในบทความนี้ จะเป็นการทำการ Custom Middleman รวมถึงจัด CSS/Layout ใหม่
Getting Started
เริ่มต้น จะใช้ธีม Clean Blog เพื่อทำการแปลงจาก Template HTML เป็น Middleman
ตัวโปรเจ็คของ Middleman จากบทความที่แล้ว ที่ชื่อ my_blog จะมีโครงสร้างดังนี้
$ tree.├── Gemfile├── Gemfile.lock├── config.rb└── source    ├── 2012-01-01-example-article.html.markdown    ├── 2015-06-16-my-new-article.html.markdown    ├── calendar.html.erb    ├── feed.xml.builder    ├── images    ├── index.html.erb    ├── javascripts    ├── layout.erb    ├── stylesheets    └── tag.html.erb
4 directories, 10 files
ชำแหละธีม Clean Blog
เมื่อเราเลือกใช้ Clean Blog ก็ถึงเวลาชำแหละดูข้างในซักหน่อย ว่ามีไฟล์อะไรบ้าง โดยสามารถดาวน์โหลดได้จากลิงค์ข้างบน หรือจะโคลนจาก Github ก็ได้
git clone https://github.com/IronSummitMedia/startbootstrap-clean-blog.gitภายในโปรเจ็คของ Clean Blog จะมีไฟล์ประมาณนี้
$ tree.├── LICENSE├── README.md├── about.html├── contact.html├── css│   ├── bootstrap.css│   ├── bootstrap.min.css│   ├── clean-blog.css│   └── clean-blog.min.css├── fonts│   ├── glyphicons-halflings-regular.eot├── img│   ├── about-bg.jpg├── index.html├── js│   ├── bootstrap.js│   ├── bootstrap.min.js│   ├── clean-blog.js│   ├── clean-blog.min.js│   ├── jquery.js│   └── jquery.min.js├── less│   ├── clean-blog.less│   ├── mixins.less│   └── variables.less├── mail│   └── contact_me.php└── post.html
6 directories, 30 files
สิ่งที่เราสนใจคือไฟล์
index.html: เป็นหน้าแรกของเว็บไซต์ซึ่งจะเอาไว้แสดง Post ต่างๆpost.html: หน้ารายละเอียดของแต่ละ Postabout.html: หน้า Page Aboutcontact.html: หน้า Page Contact
และไฟล์ CSS/JS อื่นๆ เราจะไม่ทำการ Custom จะใช้ default ของ Clean Blog ไปเลย
เข้าใจโครงสร้างของ Middleman
ก่อนที่เราจะทำการ Custom ได้เราต้องเข้าใจโครงสร้างของไฟล์ Middleman เพิ่มเติมซักหน่อย
cd my_blog/sourceเมื่อลองเข้าไปดูโฟลเดอร์ source ของ my_blog ที่สร้างจาก middleman จะเห็นว่ามีไฟล์ดังนี้
├── 2012-01-01-example-article.html.markdown├── 2015-06-16-my-new-article.html.markdown├── calendar.html.erb├── feed.xml.builder├── images├── index.html.erb├── javascripts├── layout.erb├── stylesheets└── tag.html.erbindex.html.erb: ก็คือหน้า index ของเว็บเรา โดยมี extension เป็น erb คือสามารถเขียนโค๊ด ruby ลงไปใน html ได้layout.erb: เป็นไฟล์ default layout ของเว็บเรา บางครั้งหน้าเว็บแต่ละหน้า จะมี header, navbar เหมือนๆกัน เราก็แค่สร้าง layout อันนี้ แล้วเปลี่ยนแค่เนื้อหาภายใน ไม่จำเป็นต้องมี header, navbar เขียนอยู่ทุกๆไฟล์tag.html.erb: หน้าที่เอาไว้แสดง เวลาเราเลือกกดดูรายละเอียด tagimages/javascripts/stylesheets: โฟลเดอร์สำหรับเก็บไฟล์ assets ของเรา
เข้าใจ Helper Methods เบื้องต้น
เมื่อลองเปิดไฟล์ layout.erb เราสามารถแทรกโค๊ด Ruby ลงไปใน HTML ได้เลย ตัวอย่าง เช่น
<% name = "Chai" %><h1>Hello <%= name %></h1><% %>: ไว้สำหรับ statement<%= %>: เอาไว้สำหรับ output ค่า
Link Helper
เราสามารถที่จะใช้ link_to เพื่อสร้าง <a href=""> สำหรับ html ได้ ตามตัวอย่าง syntax ข้างล่างนี้
<%= link_to 'My Site', 'http://mysite.com' %>มีค่าเท่ากับ
<a href="http://mysite.com">My Site</a>Assets Helper
เราสามารถใช้ลิงค์สำหรับไฟล์ assets ของเราได้ เช่นไฟล์ js, css แบบนี้
<%= stylesheet_link_tag 'main' %><%= javascript_include_tag "main" %>จะมีค่าเท่ากับการลิงค์ไปยังไฟล์ main.css ในโฟลเดอร์ stylesheets และไฟล์ main.js ในโฟลเดอร์ javascripts
Yield
หากสังเกต ในไฟล์ layout.erb จะเห็นโค๊ดบรรทัดนี้อยู่
<%= yield %>มันคือ block ที่เอาไว้สำหรับ inject ค่า content ต่างๆของแต่ละหน้า เช่น หน้า index ก็จะแสดง content อีกอย่าง หน้า about ก็จะแสดง content อีกอย่าง
เริ่มต้น Custom
ทำการก็อปปี้ไฟล์ css/js/img ใน Clean Blog มาใส่ไว้ในโฟลเดอร์ source/stylesheets , source/javascripts และ source/images ตามลำดับ
└── source ├── images │ ├── about-bg.jpg │ ├── contact-bg.jpg │ ├── home-bg.jpg │ ├── post-bg.jpg │ └── post-sample-image.jpg ├── javascripts │ ├── bootstrap.js │ ├── bootstrap.min.js │ ├── clean-blog.js │ ├── clean-blog.min.js │ ├── jquery.js │ └── jquery.min.js ├── stylesheets │ ├── bootstrap.css │ ├── bootstrap.min.css │ ├── clean-blog.css │ └── clean-blog.min.cssEdit index.html.erb
มาเริ่มลงมือ Edit ไฟล์ index.html.erb เลย ก่อนการ Edit ก็ทำการ backup ของเก่าไว้ดูก่อนก็ได้
cp index.html.erb index.html.erb.tmpโดยทำการก็อปปี้โค๊ดทั้งหมดจาก index.html ของ Clean Blog มาใส่ใน index.html.erb จะได้ดังนี้
<!doctype html><html lang="en"> <head> <meta charset="utf-8" /> <meta http-equiv="X-UA-Compatible" content="IE=edge" /> <meta name="viewport" content="width=device-width, initial-scale=1" /> <meta name="description" content="" /> <meta name="author" content="" />
<title>Clean Blog</title>
<!-- Bootstrap Core CSS --> <link href="css/bootstrap.min.css" rel="stylesheet" />
<!-- Custom CSS --> <link href="css/clean-blog.min.css" rel="stylesheet" />
<!-- Custom Fonts --> <link href="http://maxcdn.bootstrapcdn.com/font-awesome/4.1.0/css/font-awesome.min.css" rel="stylesheet" type="text/css" /> <link href="http://fonts.googleapis.com/css?family=Lora:400,700,400italic,700italic" rel="stylesheet" type="text/css" /> <link href="http://fonts.googleapis.com/css?family=Open+Sans:300italic,400italic,600italic,700italic,800italic,400,300,600,700,800" rel="stylesheet" type="text/css" />
<!-- HTML5 Shim and Respond.js IE8 support of HTML5 elements and media queries --> <!-- WARNING: Respond.js doesn't work if you view the page via file:// --> <!--[if lt IE 9]> <script src="https://oss.maxcdn.com/libs/html5shiv/3.7.0/html5shiv.js"></script> <script src="https://oss.maxcdn.com/libs/respond.js/1.4.2/respond.min.js"></script> <![endif]--> </head>
<body> <!-- Navigation --> <nav class="navbar navbar-default navbar-custom navbar-fixed-top"> <div class="container-fluid"> <!-- Brand and toggle get grouped for better mobile display --> <div class="navbar-header page-scroll"> <button type="button" class="navbar-toggle" data-toggle="collapse" data-target="#bs-example-navbar-collapse-1" > <span class="sr-only">Toggle navigation</span> <span class="icon-bar"></span> <span class="icon-bar"></span> <span class="icon-bar"></span> </button> <a class="navbar-brand" href="index.html">Start Bootstrap</a> </div>
<!-- Collect the nav links, forms, and other content for toggling --> <div class="navbar-collapse collapse" id="bs-example-navbar-collapse-1"> <ul class="nav navbar-nav navbar-right"> <li> <a href="index.html">Home</a> </li> <li> <a href="about.html">About</a> </li> <li> <a href="post.html">Sample Post</a> </li> <li> <a href="contact.html">Contact</a> </li> </ul> </div> <!-- /.navbar-collapse --> </div> <!-- /.container --> </nav>
<!-- Page Header --> <!-- Set your background image for this header on the line below. --> <header class="intro-header" style="background-image: url('img/home-bg.jpg')"> <div class="container"> <div class="row"> <div class="col-lg-8 col-lg-offset-2 col-md-10 col-md-offset-1"> <div class="site-heading"> <h1>Clean Blog</h1> <hr class="small" /> <span class="subheading">A Clean Blog Theme by Start Bootstrap</span> </div> </div> </div> </div> </header>
<!-- Main Content --> <div class="container"> <div class="row"> <div class="col-lg-8 col-lg-offset-2 col-md-10 col-md-offset-1"> <div class="post-preview"> <a href="post.html"> <h2 class="post-title">Man must explore, and this is exploration at its greatest</h2> <h3 class="post-subtitle">Problems look mighty small from 150 miles up</h3> </a> <p class="post-meta">Posted by <a href="#">Start Bootstrap</a> on September 24, 2014</p> </div> <hr /> <div class="post-preview"> <a href="post.html"> <h2 class="post-title"> I believe every human has a finite number of heartbeats. I don't intend to waste any of mine. </h2> </a> <p class="post-meta">Posted by <a href="#">Start Bootstrap</a> on September 18, 2014</p> </div> <hr /> <div class="post-preview"> <a href="post.html"> <h2 class="post-title">Science has not yet mastered prophecy</h2> <h3 class="post-subtitle"> We predict too much for the next year and yet far too little for the next ten. </h3> </a> <p class="post-meta">Posted by <a href="#">Start Bootstrap</a> on August 24, 2014</p> </div> <hr /> <div class="post-preview"> <a href="post.html"> <h2 class="post-title">Failure is not an option</h2> <h3 class="post-subtitle"> Many say exploration is part of our destiny, but it’s actually our duty to future generations. </h3> </a> <p class="post-meta">Posted by <a href="#">Start Bootstrap</a> on July 8, 2014</p> </div> <hr /> <!-- Pager --> <ul class="pager"> <li class="next"> <a href="#">Older Posts →</a> </li> </ul> </div> </div> </div>
<hr />
<!-- Footer --> <footer> <div class="container"> <div class="row"> <div class="col-lg-8 col-lg-offset-2 col-md-10 col-md-offset-1"> <ul class="list-inline text-center"> <li> <a href="#"> <span class="fa-stack fa-lg"> <i class="fa fa-circle fa-stack-2x"></i> <i class="fa fa-twitter fa-stack-1x fa-inverse"></i> </span> </a> </li> <li> <a href="#"> <span class="fa-stack fa-lg"> <i class="fa fa-circle fa-stack-2x"></i> <i class="fa fa-facebook fa-stack-1x fa-inverse"></i> </span> </a> </li> <li> <a href="#"> <span class="fa-stack fa-lg"> <i class="fa fa-circle fa-stack-2x"></i> <i class="fa fa-github fa-stack-1x fa-inverse"></i> </span> </a> </li> </ul> <p class="copyright text-muted">Copyright © Your Website 2014</p> </div> </div> </div> </footer>
<!-- jQuery --> <script src="js/jquery.js"></script>
<!-- Bootstrap Core JavaScript --> <script src="js/bootstrap.min.js"></script>
<!-- Custom Theme JavaScript --> <script src="js/clean-blog.min.js"></script> </body></html>จะสังเกตเห็นว่า มีส่วนที่ทำซ้ำๆ นั่นก็คือภายใน <div class="post-preview"> ตรงส่วนนี้เราจะใช้การ วนลูป เพื่อแสดง Post ทั้งหมดของเรา ด้วย
<% page_articles.each_with_index do |article, i| %> <!-- ruby code go here --><% end %>Edit layout.erb
ต่อมาทำการ Edit ไฟล์ layout.erb เนื่องจากว่า เราจะไม่เอาพวก header หรือ footer ต่างๆ ไว้ในไฟล์ index.html.erb แต่จะใช้ในไฟล์ layout.erb แทน
ไฟล์ layout.erb จะเป็นแบบนี้
<!doctype html><html lang="en"> <head> <meta charset="utf-8" /> <meta http-equiv="X-UA-Compatible" content="IE=edge" /> <meta name="viewport" content="width=device-width, initial-scale=1" /> <meta name="description" content="" /> <meta name="author" content="" />
<title>Clean Blog</title>
<!-- Bootstrap Core CSS --> <%= stylesheet_link_tag 'bootstrap.min' %>
<!-- Custom CSS --> <%= stylesheet_link_tag 'clean-blog.min' %>
<!-- Custom Fonts --> <link href="http://maxcdn.bootstrapcdn.com/font-awesome/4.1.0/css/font-awesome.min.css" rel="stylesheet" type="text/css" /> <link href="http://fonts.googleapis.com/css?family=Lora:400,700,400italic,700italic" rel="stylesheet" type="text/css" /> <link href="http://fonts.googleapis.com/css?family=Open+Sans:300italic,400italic,600italic,700italic,800italic,400,300,600,700,800" rel="stylesheet" type="text/css" />
<!-- HTML5 Shim and Respond.js IE8 support of HTML5 elements and media queries --> <!-- WARNING: Respond.js doesn't work if you view the page via file:// --> <!--[if lt IE 9]> <script src="https://oss.maxcdn.com/libs/html5shiv/3.7.0/html5shiv.js"></script> <script src="https://oss.maxcdn.com/libs/respond.js/1.4.2/respond.min.js"></script> <![endif]--> </head>
<body> <!-- Navigation --> <nav class="navbar navbar-default navbar-custom navbar-fixed-top"> <div class="container-fluid"> <!-- Brand and toggle get grouped for better mobile display --> <div class="navbar-header page-scroll"> <button type="button" class="navbar-toggle" data-toggle="collapse" data-target="#bs-example-navbar-collapse-1" > <span class="sr-only">Toggle navigation</span> <span class="icon-bar"></span> <span class="icon-bar"></span> <span class="icon-bar"></span> </button> <a class="navbar-brand" href="index.html">Start Bootstrap</a> </div>
<!-- Collect the nav links, forms, and other content for toggling --> <div class="navbar-collapse collapse" id="bs-example-navbar-collapse-1"> <ul class="nav navbar-nav navbar-right"> <li> <a href="index.html">Home</a> </li> <li> <a href="about.html">About</a> </li> <li> <a href="post.html">Sample Post</a> </li> <li> <a href="contact.html">Contact</a> </li> </ul> </div> <!-- /.navbar-collapse --> </div> <!-- /.container --> </nav>
<!-- Page Header --> <!-- Set your background image for this header on the line below. --> <header class="intro-header" style="background-image: url('images/home-bg.jpg')"> <div class="container"> <div class="row"> <div class="col-lg-8 col-lg-offset-2 col-md-10 col-md-offset-1"> <div class="site-heading"> <h1>Clean Blog</h1> <hr class="small" /> <span class="subheading">A Clean Blog Theme by Start Bootstrap</span> </div> </div> </div> </div> </header>
<%= yield %>
<!-- Footer --> <footer> <div class="container"> <div class="row"> <div class="col-lg-8 col-lg-offset-2 col-md-10 col-md-offset-1"> <ul class="list-inline text-center"> <li> <a href="#"> <span class="fa-stack fa-lg"> <i class="fa fa-circle fa-stack-2x"></i> <i class="fa fa-twitter fa-stack-1x fa-inverse"></i> </span> </a> </li> <li> <a href="#"> <span class="fa-stack fa-lg"> <i class="fa fa-circle fa-stack-2x"></i> <i class="fa fa-facebook fa-stack-1x fa-inverse"></i> </span> </a> </li> <li> <a href="#"> <span class="fa-stack fa-lg"> <i class="fa fa-circle fa-stack-2x"></i> <i class="fa fa-github fa-stack-1x fa-inverse"></i> </span> </a> </li> </ul> <p class="copyright text-muted">Copyright © Your Website 2014</p> </div> </div> </div> </footer>
<!-- jQuery --> <%= javascript_include_tag "jquery" %>
<!-- Bootstrap Core JavaScript --> <%= javascript_include_tag "bootstrap.min" %>
<!-- Custom Theme JavaScript --> <%= javascript_include_tag "clean-blog.min" %> </body></html>และไฟล์ index.html.erb ก็จะเหลือแค่ส่วนแสดง content เท่านั้น เป็น
---pageable: trueper_page: 10---
<div class="container"> <div class="row"> <div class="col-lg-8 col-lg-offset-2 col-md-10 col-md-offset-1"> <% page_articles.each_with_index do |article, i| %>
<div class="post-preview"> <h2 class="post-title"><%= link_to article.title, article %></h2> <h3 class="post-subtitle"><%= article.summary %></h3> <p classs="post-meta">Posted by Author on <%= article.date.strftime('%B %d, %Y') %></p> </div> <hr />
<% end %> </div> </div></div>
<hr />เมื่อเปิดหน้าเว็บ ก็จะเห็นเว็บบล็อกของเรา เป็น Clean-Blog แล้ว
middleman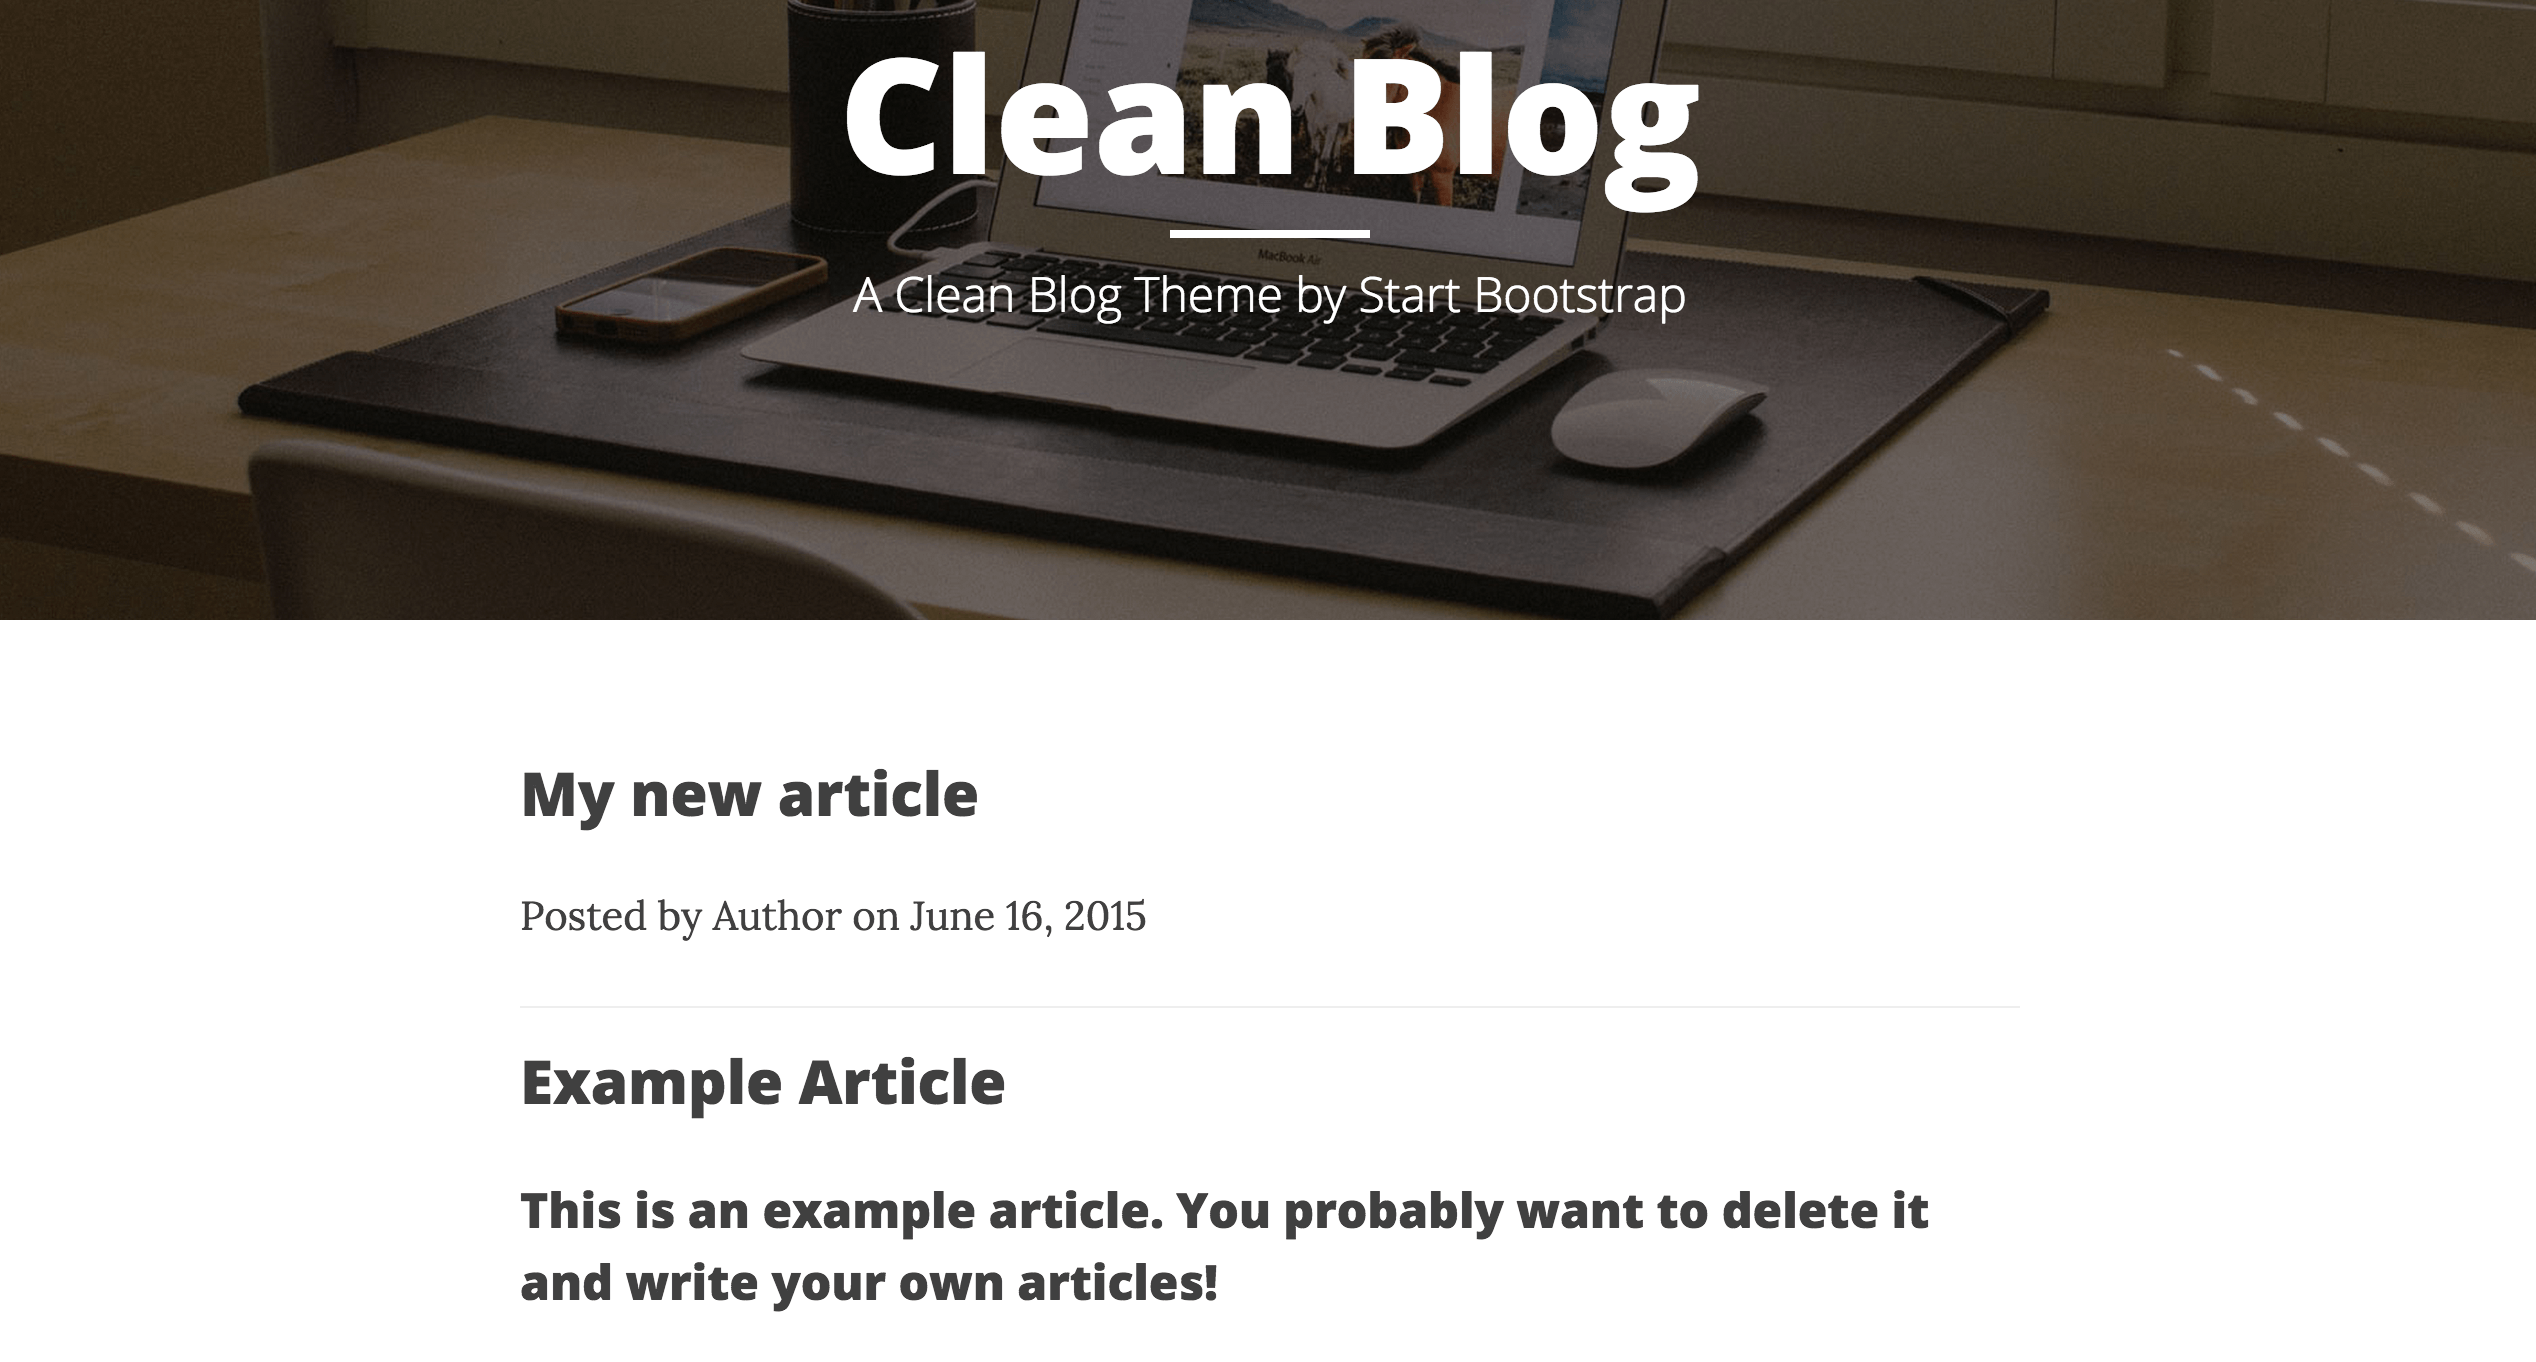
หากมีปัญหา run server ไม่ได้ ให้ทำการเพิ่ม
gem 'nokogiri'ในไฟล์Gemfileและสั่งbundle install
สำหรับ Part 2 ก็จบเท่านี้ แต่ยังมีหลายๆส่วนที่ต้องปรับ เช่น Author, ย้าย Navbar, Footer (Partials Template), และหน้า Page อื่นๆ เช่น หน้า Post
สำหรับ Source Code Part 2 ดูได้จากที่นี่
- Authors
-

Chai Phonbopit
เป็น Web Dev ในบริษัทแห่งหนึ่ง ทำงานมา 10 ปีกว่าๆ ด้วยภาษาและเทคโนโลยี เช่น JavaScript, Node.js, React, Vue และปัจจุบันกำลังสนใจในเรื่องของ Blockchain และ Crypto กำลังหัดเรียนภาษา Rust